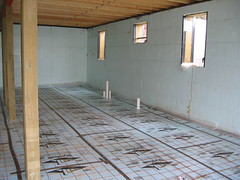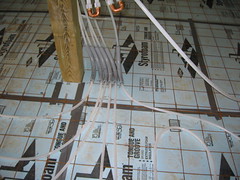
The heavy-duty gray plastic elbows will protect the tubing when the 5-inch thick concrete floor gets poured next week.
The phone company sent a pair of men and a ditching plow to run CAT-6 cable from the underground box on the road to the cabin via the electric company’s right-of-way. A couple of rain showers after they left, you can hardly tell where the cable lies. (Sorry, I failed to get a picture of either the heating crew or the phone folks.)
While these professionals were doing their thing, Don, Adam and I were doing ours.
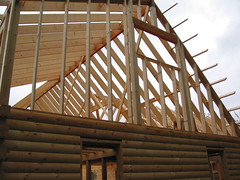
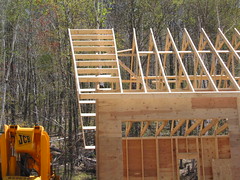
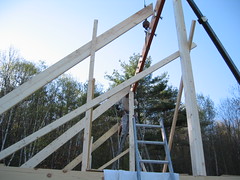
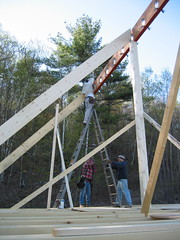
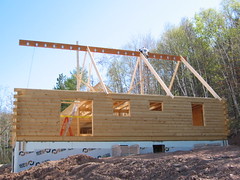
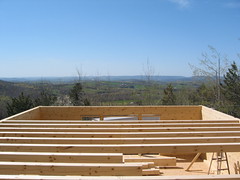
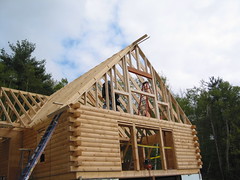
We made use of the temporary platform Don and Adam built last Friday to finish framing out the northern gable.
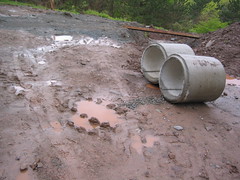
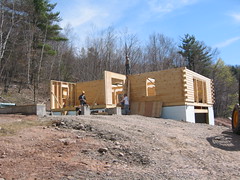
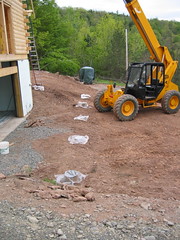
We rented a tracked mini-excavator for a day. Under Adam’s skillful control it made digging 4-foot deep holes for the sono tubes for concrete piers to support the decks fairly easy. It also dug trenches for the drainage pipes that run from the corner of the basement shown here and backfilled and graded much of the foundation and trenches.
The building inspector had to come out to check the tubes and also looked around at the rest of the construction. He seemed suitably impressed.
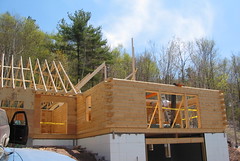
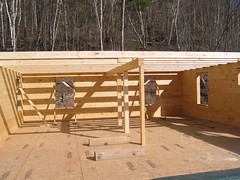
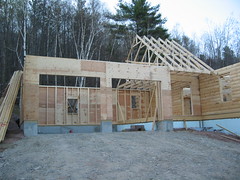
1/2-inch plywood sheathing got installed on some of the walls.
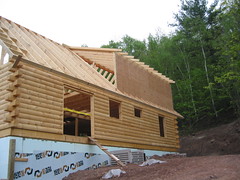
Dormer wall sheathing.
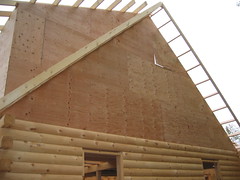
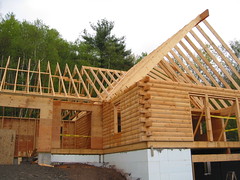
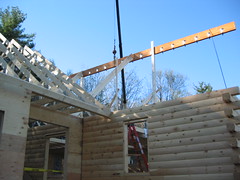
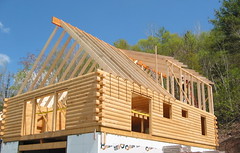
South end gable sheathing and lookouts with flyrafters.
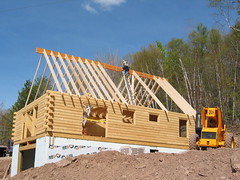
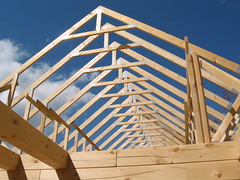
Lookouts and flyrafters were also installed on the two gable ends of the living quarters. The south end was relatively easy to do since all the lookouts are the same length. The northern end was more difficult since it is a prow, i.e. the top sticks out further than the bottom so each lookout has an angled end and a flat end. And each one is a different length.
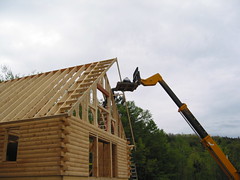
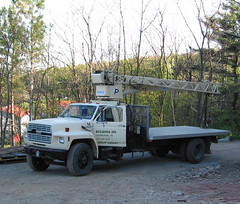
The LoadAll served well as a working platform on the outside of the building.
Friday turned out to be a short day as showers moved in around 10 AM and were forecast to stick around all afternoon. After installing two of the basement windows and trying to get started on the trim facia, Don called it quits. I took some borrowed materials back to Beaver Mountain and headed home to NJ for the holiday weekend. (Well, maybe just for a day. The grass up north in the Adirondacks needs cutting and some trails in the woods need clearing and the sun is supposed to be shining this weekend—unlike last weekend when it was out for—maybe, oh, 5 minutes in two days.)
Later.