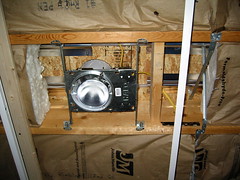
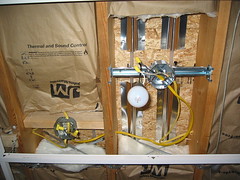
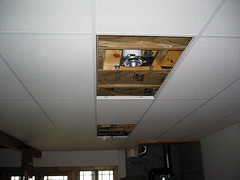
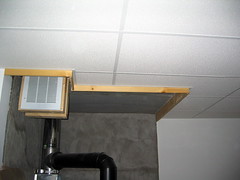
One recessed can was moved about 8 inches from where the original, temporary light fixture was located. (See the 2 x 4 just to the right? That's where the former utility box was attached.)
The ceiling fan support had to be moved diagonally to get it nearer the center of the 2' x 4' ceiling tile. I’m still working out how to install the ceiling fan itself. Right now it looks like I’ll be slicing a 2’ x 4’ ceiling panel in two and placing one 2’ x 2’ semi panel on each side of the pipe supporting the fan from the box shown here.
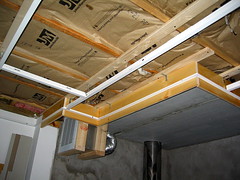
All the grid and molding is 5 inches down from the bottom of the floor joists. Putting the furring strips in, reduced space to 4-1/4 inches which was very tight for installing the ceiling tiles. No furring strips on the other half of the basement! No fancy cuts like this called for either. Should be a piece of cake.
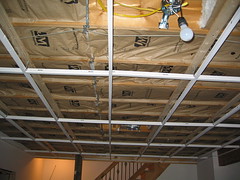
At the end of Wednesday (day three), all the molding and grid work was up and waiting for the ceiling panels.
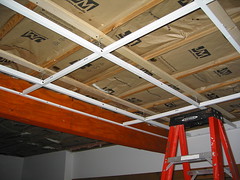
The orange glue-lam beam that supports the first floor, will still be exposed when the ceiling tiles are in.
This morning I started installing the tile. Every tile that contacted the wall had to be cut for either length or width or, sometimes, both.
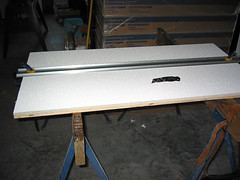
Tools for cutting the tile: Utility knife and a good solid straight edge. I also used clamps to hold the straight edge in place and a piece of plywood under the tile and on top of the waist-high saw horses.
The large tiles in the center of the field were the easiest to install. It helped that the support wires were all on the same side of the grid nodes. That positioning gave me the leeway needed to leverage the tiles into place.
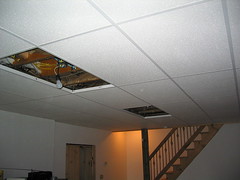
The two missing tiles are where the recessed light and ceiling fan will go. I'll cut them last as there are two more lights on the other side of the basement that will need the same special cuts.
The smaller the tile the more difficult it was to lever it into position...until I figured out the secret. You go in from next door. Lift up the tile next to the one you want to install and slip it over the transom, so to speak.
Tomorrow: The west side of the basement!
We already moved many of the boxes of books and software as well as some of the furniture out of the way. First thing in the morning I will be laying out the position of the lag screws then installing the molding and grid. Then moving the lights and putting in two recessed cans in place of the temporary fixtures currently in place. There will be NO furring strips!
Now that I know what I’m doing, it should be ready for ceiling tiles by Saturday.
Piece of cake!
No comments:
Post a Comment